

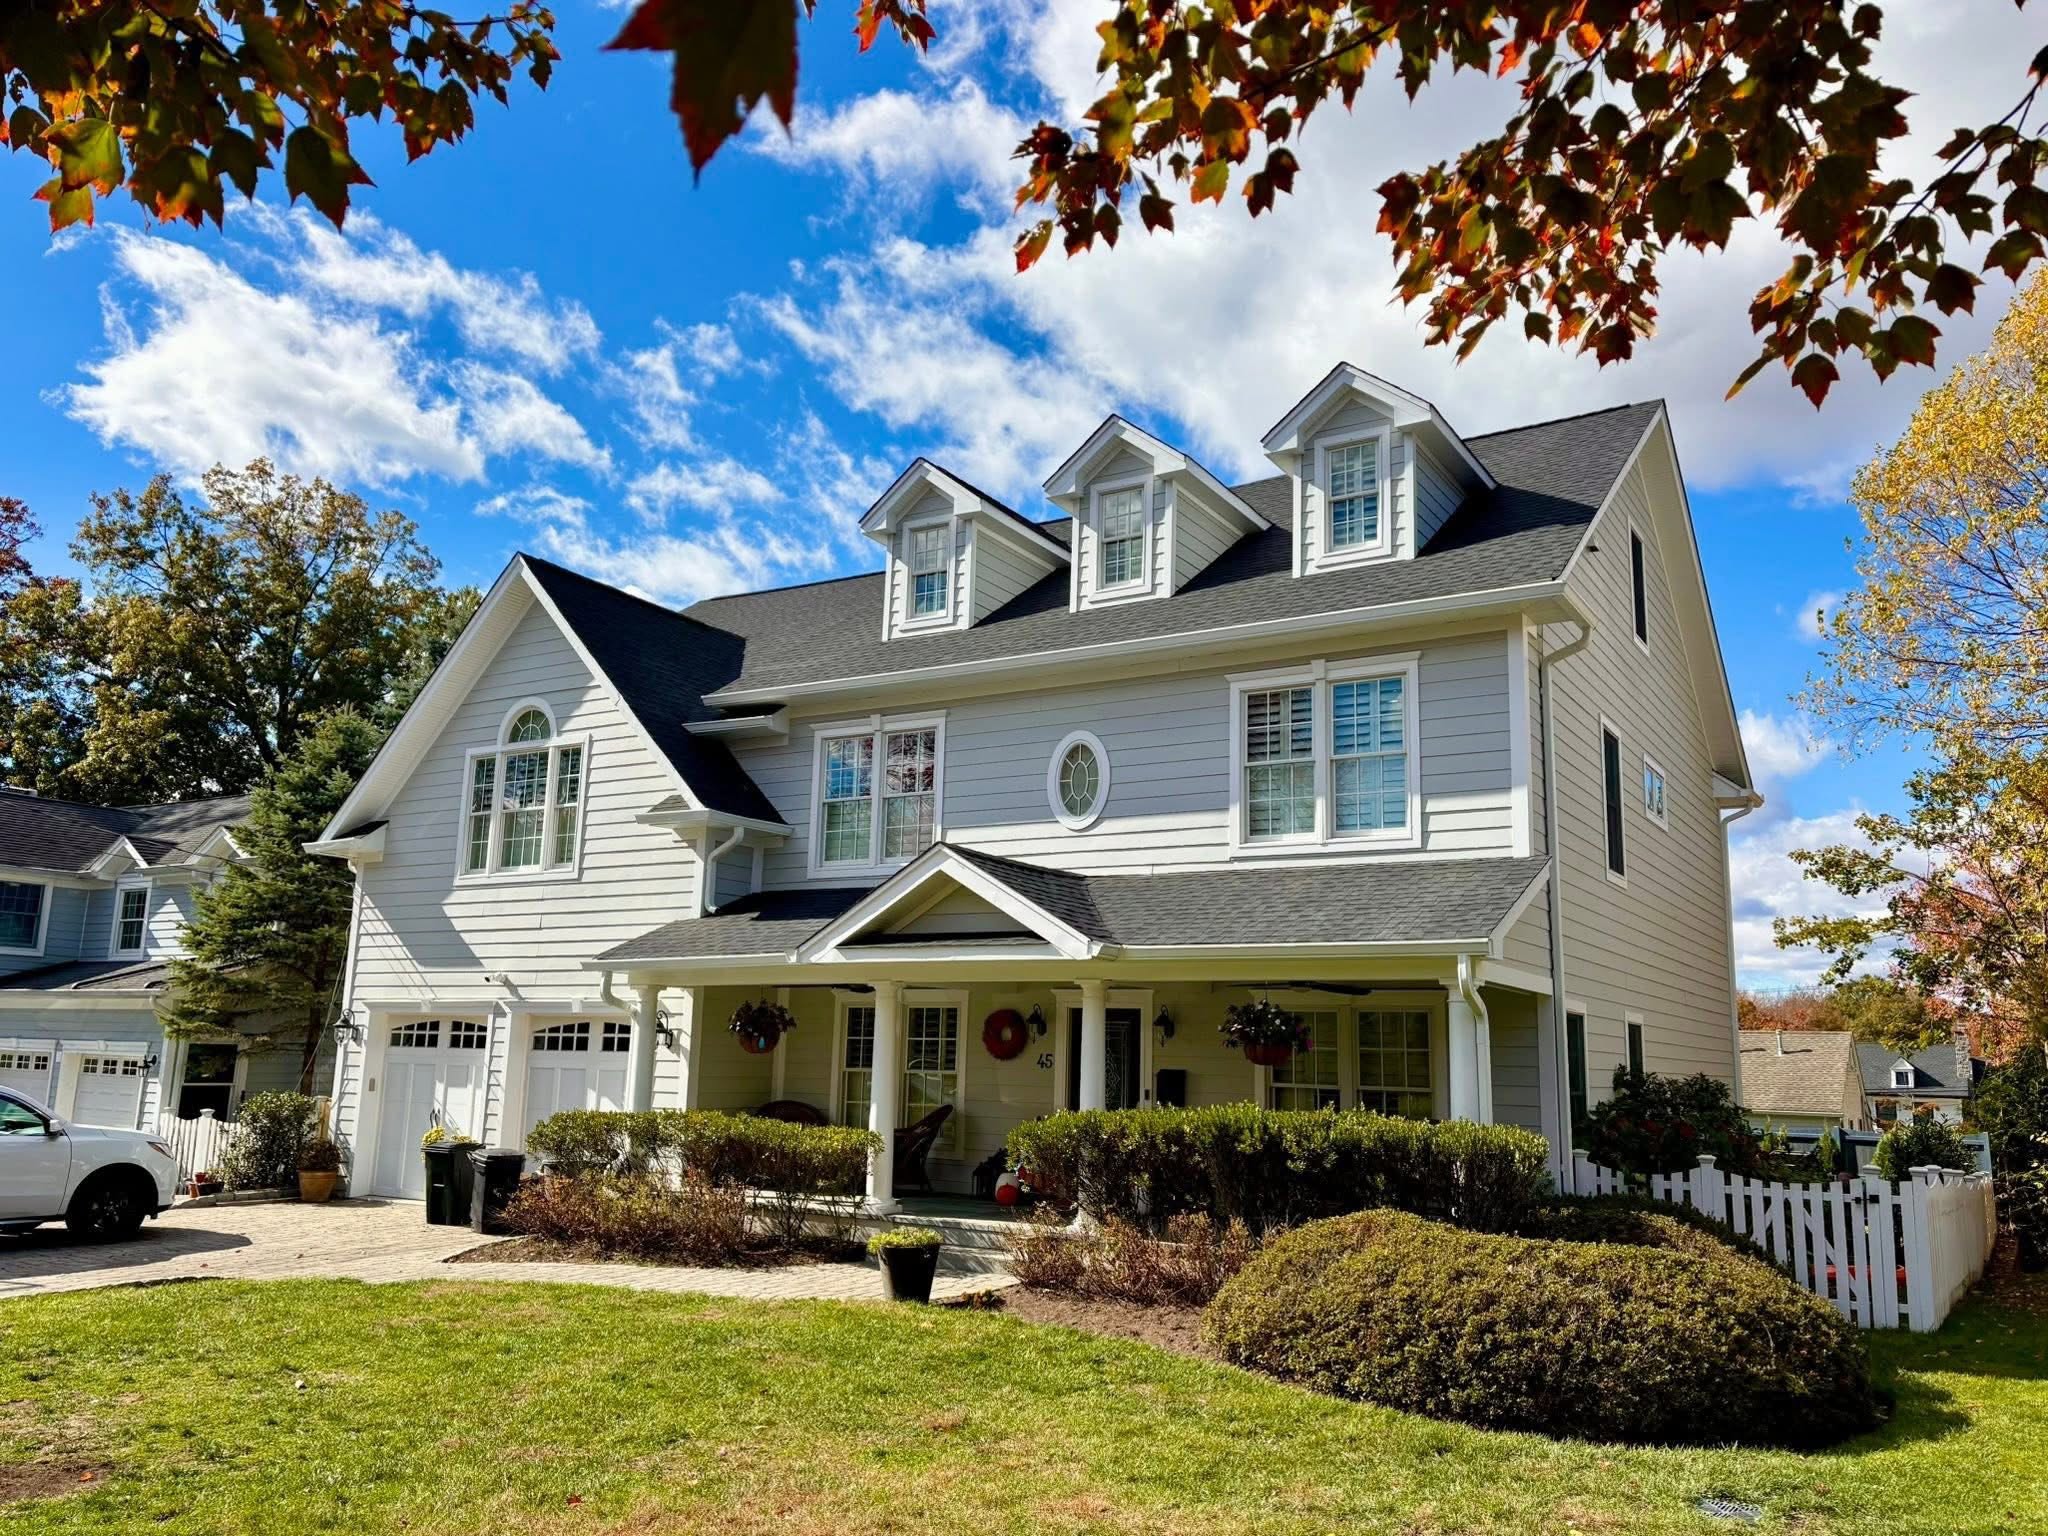
Painting your house exterior is one of the most impactful home improvement projects you can tackle. A fresh coat of exterior paint not only transforms your home’s curb appeal but also protects your walls from the elements for years to come. Whether you’re considering a DIY approach or planning to hire professional painters, understanding the proper techniques and preparation steps ensures long-lasting results.
In this comprehensive guide, we’ll walk you through everything you need to know about how to paint a house exterior, from essential tools and prep work to professional techniques that create a smooth finish. With exterior paint lasting 7–10 years, depending on conditions, getting it right the first time is crucial.
What Tools and Materials Do You Need to Paint a House Exterior?
Before you start painting, gathering the right equipment makes the job smoother and helps achieve professional-quality results. Here’s what you’ll need:
Essential Painting Tools
Brushes and Rollers
- High-quality exterior paint brushes (3-4 inch angled for trim, 4-5 inch flat for large surfaces)
- Paint rollers with 3/8 inch to 1/2 inch nap for textured surfaces
- Extension poles for reaching high areas without constant ladder repositioning
- Using synthetic bristles is recommended for latex paint, as they maintain their shape better than natural bristles
Application Equipment
- Paint sprayer (optional, but time-saving for large projects)
- Paint trays and liners
- Painter’s tape for clean lines around trim, windows, and doors
- Drop cloths to protect plants, walkways, and other surfaces
Surface Preparation Tools
- Pressure washer to remove dirt and mildew
- Scrapers and wire brushes for removing loose paint and flaking paint
- Sandpaper or power sander (80-120 grit for rough spots, 150-220 for smoothing)
- Caulking gun with exterior-grade caulk
- Exterior-grade filler for holes and cracks
- Ladder or scaffolding (ensure proper safety equipment)
Materials You’ll Need
Paint and Primer
- Exterior paint (typically two coats required)
- Primer appropriate for your surface type
- A gallon of paint covers 250–400 square feet, depending on surface texture
Surface-Specific Primers
- Apply primer on bare wood, brick, or stucco surfaces for proper adhesion
- Acrylic primers work on almost every surface type
- Use oil-based primer for cedar or redwood surfaces to prevent tannin bleeding
- A stabilizing primer is needed for flaky or powdery surfaces
Pro Tip: Tint primer a contrasting color to easily see coverage areas and ensure you don’t miss spots during the painting process.
How to Properly Prepare Exterior Surfaces Before Painting
Professional painters know that roughly 75% of the effort in painting should be preparation. Proper prep work is what separates a paint job that lasts a decade from one that starts peeling after two years.
If prep is really 75% of the job, then a quote that spends most of its time talking about paint brand and almost none about prep is a quote worth questioning.
Step 1: Protect Your Landscape and Surroundings
Cover plants and walkways with drop cloths before painting to protect them from paint splatters and chemical cleaners. Move any furniture, planters, or decorative elements away from the house. Use plastic sheeting to protect windows, doors, and any fixed elements you’re not painting.
Step 2: Clean the Exterior Walls
Pressure-wash the house to remove dirt and mildew that can prevent proper paint adhesion. This step is critical—even a thin layer of dirt or mold will cause your new paint to fail prematurely.
- Hold the pressure washer wand 12-18 inches from the surface
- Use a gentle sweeping motion, working from top to bottom
- Pay special attention to areas under eaves and around trim where mildew accumulates
- For stubborn mold or mildew, use a cleaning solution before pressure washing
Allow 24–48 hours for the house to dry after washing. Painting on damp surfaces will trap moisture and adversely affect paint curing and adhesion.
Step 3: Remove Existing Paint Issues
Remove all peeling or flaking paint before applying new paint. Use a scraper or wire brush to remove loose paint, working methodically around the entire house. Don’t skip this step—painting over peeling paint guarantees that your new finish will fail.
Sand rough spots to create an even surface before painting. After scraping, sand the edges of any remaining paint to create smooth transitions between bare and painted areas. This prevents visible ridges that show through your new finish.
Step 4: Make Necessary Repairs
Fill holes and cracks with exterior-grade filler. Walk around your house with a critical eye, looking for:
- Cracks in siding, stucco, or brick
- Holes from old hardware or damage
- Gaps around windows and doors
- Deteriorated wood that needs replacement
Applying exterior caulk prevents moisture infiltration around windows, doors, and trim joints. Use a high-quality exterior caulk that can withstand temperature fluctuations and UV exposure. Moisture can adversely affect paint curing and adhesion, so proper sealing is essential.
Step 5: Sand and Prime
Once repairs are complete, sand the entire surface to create a clean surface that paint can grip. You don’t need to sand smooth existing paint that’s in good condition, but focus on:
- Repaired areas to blend them with the surrounding surfaces
- Glossy surfaces to add tooth for better adhesion
- Rough wood grain to create a flat surface
Prime all bare surfaces, repairs, and any stains that might bleed through. Different surfaces require specific primers:
- Bare wood: Use an oil-based or acrylic primer depending on the wood type
- Stucco and masonry: Use a masonry primer designed for porous surfaces
- Previously painted surfaces in good condition: May only need primer on repairs and bare spots
According to painting experts at Sherwin-Williams, matching your primer to your surface type is one of the most important steps in ensuring long-term durability.
What Painting Techniques Do Professionals Use for Smooth, Lasting Results?
Professional painters have developed techniques over years of experience that create superior finishes and make the job more efficient.
Choosing the Right Paint Finish
The sheen you select impacts both appearance and durability:
- Satin finishes are recommended for exterior paint on most wall surfaces. They provide excellent durability while hiding minor surface imperfections.
- Flat finishes are suitable for older homes where a traditional matte look is desired, though they’re harder to clean.
- Semi-gloss is ideal for trim and doors because it’s durable, easy to clean, and naturally highlights architectural details.
Temperature and Weather Considerations
Timing your project correctly ensures optimal results:
- Optimal outdoor painting temperatures range from 50°F to 85°F for most exterior paints
- The best time for exterior painting is early summer or fall, when temperatures are moderate and humidity is lower
- Avoid painting in direct sunlight on very hot days—the paint dries too quickly, preventing proper leveling
- Don’t paint if rain is forecast within 24-48 hours
Some modern paints extend the temperature range—optimal painting temperature can be between 50°F and 90°F for certain formulations—but always check the specific instructions on your paint can.
Every can lists its own temperature range for a reason—treat the 50–85°F rule as a starting point, then confirm against the specific product you’re using.
Professional Application Techniques
Start Painting from Top to Bottom
Always work from the top of the house downwards. This prevents drips and splatters from ruining freshly painted areas below. The typical sequence is:
- Eaves and soffits
- Upper siding or walls
- Windows and trim
- Doors
- Lower siding
- Foundation (if painting)
Using a Paint Sprayer
Using a sprayer can save time compared to brushes, especially on large, flat surfaces. However, sprayers require practice and proper technique:
- Hold the sprayer a few centimeters away from the wall (typically 6-12 inches, depending on the sprayer)
- Maintain a consistent distance and speed for even coverage
- Overlap each pass by about 50% to avoid streaks
- Protect surrounding areas thoroughly—overspray travels farther than you think
Brush and Roller Techniques
For those using traditional methods:
- Load brushes properly—dip one-third of the bristles, tap off excess
- Use long, smooth strokes in the direction of the wood grain
- “Cut in” around trim, windows, and edges before rolling large areas
- Roll in a W or M pattern, then fill in without lifting the roller
- Maintain a wet edge to prevent lap marks
How Many Coats Should You Apply?
Apply two coats of paint for a long-lasting finish. While it might be tempting to skimp with a single thick coat, two coats provide:
- Better coverage and color uniformity
- Improved weather resistance
- Extended lifespan (exterior paint lasts 7–10 years with proper application)
- Superior protection against the elements
Allow the first coat to dry completely before applying the second. Check your paint can for specific instructions—drying times vary by product and weather conditions. Most paints are dry to the touch in 4-6 hours but need 24 hours before recoating.
Pro Tip: High-quality paint can extend the lifespan of exterior finishes. Premium paints contain more pigment and better binders, which means better coverage, richer color, and longer-lasting protection. While they cost more upfront, they often prove more economical over time.
How Long Does It Take to Paint a House Exterior?
The timeline for painting the house exterior varies based on several factors:
Size and Complexity
- Small home (1,000-1,500 sq ft): 2-4 days with proper prep
- Medium home (1,500-2,500 sq ft): 4-7 days
- Large home (2,500+ sq ft): 7-14 days
These estimates assume good weather and proper preparation. Time-consuming prep work can add several days to the project, especially if extensive repairs are needed.
Breaking Down the Timeline
Preparation (1-3 days):
- Cleaning and pressure washing: 4-8 hours plus drying time
- Scraping and sanding: 1-2 days
- Repairs and caulking: 4-8 hours
- Priming: 4-8 hours plus drying time
Painting (1-4 days):
- First coat application: 1-2 days
- Drying time between coats: 24 hours minimum
- Second coat application: 1-2 days
- Final drying: 24-48 hours
Finishing (0.5-1 day):
- Removing tape and protective coverings
- Touch-ups on any missed spots
- Clean up and equipment cleaning
Factors That Impact Timeline
- Weather delays: Rain, extreme heat, or high humidity can add days to your project
- Surface condition: Houses with extensive peeling paint or damage take longer to prep
- Architectural details: Intricate trim, shutters, and decorative elements are time-consuming
- Number of colors: Each additional color requires separate applications and careful taping
- Method of application: Spraying is faster than brushing, but setup and masking take longer
When Should You Hire Professional Painters Instead of DIY?
While painting your house exterior yourself can save money on labor costs, it’s not always the best choice. Here are situations where hiring professional painters makes sense:
Safety Concerns
If your home is two or three stories, working at height requires specialized equipment and experience. Professional painters have proper scaffolding, safety harnesses, and insurance coverage. Ladder accidents are a leading cause of DIY injuries—don’t risk it if you’re not comfortable with heights.
This isn’t an overstatement. California’s Division of Occupational Safety and Health cites U.S. Consumer Product Safety Commission data showing “more than 164,000 emergency room-treated injuries in the U.S. relating to ladders every year,” a figure that includes homeowners doing their own exterior projects, not just tradespeople. — Source: Cal/OSHA eTools, “Portable Ladder Safety”
Time Constraints
A professional crew can complete in 3-5 days what might take a homeowner 2-3 weekends. If you have limited time or an urgent deadline (selling your home, for example), professionals keep the project on schedule regardless of your work commitments.
Surface Complexity
Certain surfaces require specialized knowledge:
- Stucco and brick need specific primers and application techniques
- Wood siding with rot or damage may need replacement before painting
- Historic homes often require period-appropriate materials and methods
- HOA regulations may require specific colors and finishes
Quality Expectations
Professional painters bring:
- Years of experience creating a smooth finish without visible brush marks
- Knowledge of how different products perform in your climate
- Access to professional-grade equipment
- Understanding of proper surface preparation techniques
- Warranty coverage on their work
“The steps in this guide are exactly what our crews follow on every job—there’s no secret technique we’re holding back. What professional experience actually buys you is knowing which shortcuts are safe to take and which ones will cost you a repaint in two years.” — Samuel, founder of Stuart Painters
At Stuart Painters, we’ve painted hundreds of homes throughout Bergen County, and we understand the specific challenges of exterior painting in the Northeast climate. Our team handles everything from prep to clean up, ensuring your home looks beautiful and stays protected for years to come.
Cost Considerations
While DIY saves on labor, don’t forget to factor in:
- Equipment costs (sprayer, ladder, scaffolding rental)
- Learning curve mistakes (over-buying paint, poor coverage, redoing sections)
- Your time value (could those weekends be better spent?)
- Potential for costly errors that require professional correction
Professional painting typically costs $2-$6 per square foot, depending on your location, surface condition, and complexity. Get detailed estimates from multiple contractors and compare their prep work plans, not just the final price.
Special Considerations for Different Exterior Surfaces
Different siding materials require specific approaches for how to paint a house exterior effectively.
Wood Siding
Wood is traditional but requires careful attention:
- Check for rot and replace damaged boards before painting
- Smooth any rough areas or splintering
- Prime bare wood thoroughly to prevent moisture absorption
- Use exterior-grade paint formulated for wood
- Pay special attention to end grains and joints where water penetrates
Vinyl Siding
Yes, you can paint vinyl, but:
- Use paint specifically formulated for vinyl (it remains flexible)
- Choose colors no darker than the original—dark colors absorb heat and can warp vinyl
- Clean thoroughly to remove chalky residue
- Skip the primer unless the manufacturer recommends it for your specific paint
Stucco and Masonry
These porous surfaces need special treatment:
- Use a masonry primer designed for alkaline surfaces
- Apply paint with a thick-nap roller (3/4 inch or more) to get into the texture
- Elastomeric paints work well for filling hairline cracks
- Two coats are essential for proper coverage on textured surfaces
Brick
Painting brick is a permanent decision:
- Once painted, brick is difficult to return to its natural state
- Use breathable masonry paint to prevent moisture issues
- Clean thoroughly and repair mortar joints before painting
- Prime with a masonry primer to seal the surface
For guidance on painting different surfaces, Benjamin Moore’s exterior paint guide provides detailed recommendations for various materials.
Final Steps: Clean Up and Touch Ups
Once the paint dries completely, there’s still work to do for a professional finish.
Removing Tape and Protection
- Remove painter’s tape while the final coat is still slightly tacky (after 30-60 minutes) to prevent peeling
- Pull tape at a 45-degree angle away from the painted surface for clean lines
- Remove drop cloths carefully to avoid scattering dried paint chips
- Dispose of paint-contaminated materials according to local regulations
“According to local regulations” is worth taking seriously here. The EPA classifies leftover paint, cleaners, and similar products as household hazardous waste, noting that many communities run dedicated collection programs specifically because these materials “require special care when you dispose of them” rather than going straight into the regular trash. — Source: U.S. EPA, “Household Hazardous Waste (HHW)”
Touch Ups
Walk around the house in good daylight, looking for:
- Missed spots or thin coverage
- Drips or sags that dried
- Rough edges where tape was removed
- Areas where the same color looks uneven
Keep some paint reserved specifically for touch-ups. Store it properly (sealed container, moderate temperature) for future maintenance.
Equipment Cleaning
Don’t forget to clean your tools properly:
- Wash brushes and rollers thoroughly with appropriate cleaner (water for latex, mineral spirits for oil-based)
- Clean spray equipment according to the manufacturer’s specific instructions
- Properly dispose of or recycle paint cans and contaminated materials
Rinsing a brush in the driveway feels harmless, but that runoff has somewhere to go—a five-minute trip to a local collection program is a small price for keeping it out of the storm drain.
Maintaining Your Newly Painted Exterior
With proper maintenance, your exterior paint job can last the full 7-10 years or even longer:
- Inspect annually for early signs of peeling, cracking, or mildew
- Clean gently once a year to remove dirt and prevent mildew growth
- Address problems quickly—small touch-ups prevent major repainting
- Trim vegetation away from the house to reduce moisture and mildew
- Maintain caulking around windows and doors to prevent water infiltration
Ready to Transform Your Home’s Exterior?
Understanding how to paint a house exterior properly involves much more than just applying paint to walls. From thorough prep work and choosing the right product for your surface to proper application techniques and timing, every step matters for achieving long-lasting results.
Whether you decide to tackle this project yourself or hire experienced professionals, the principles remain the same: invest time in preparation, use quality materials, and don’t rush the process. Your home’s exterior is its first line of defense against the elements; it deserves careful attention.
If you’d like to see examples of professional exterior painting work, browse our exterior gallery featuring recent projects throughout Ramsey and Bergen County. Our team brings years of experience and the right equipment to ensure your home looks beautiful and stays protected for years to come.
For a free estimate on your exterior painting project, contact Stuart Painters here. We’ll walk you through the process, answer your questions, and provide a detailed quote with no obligation. Let us handle the hard work while you enjoy the results.