

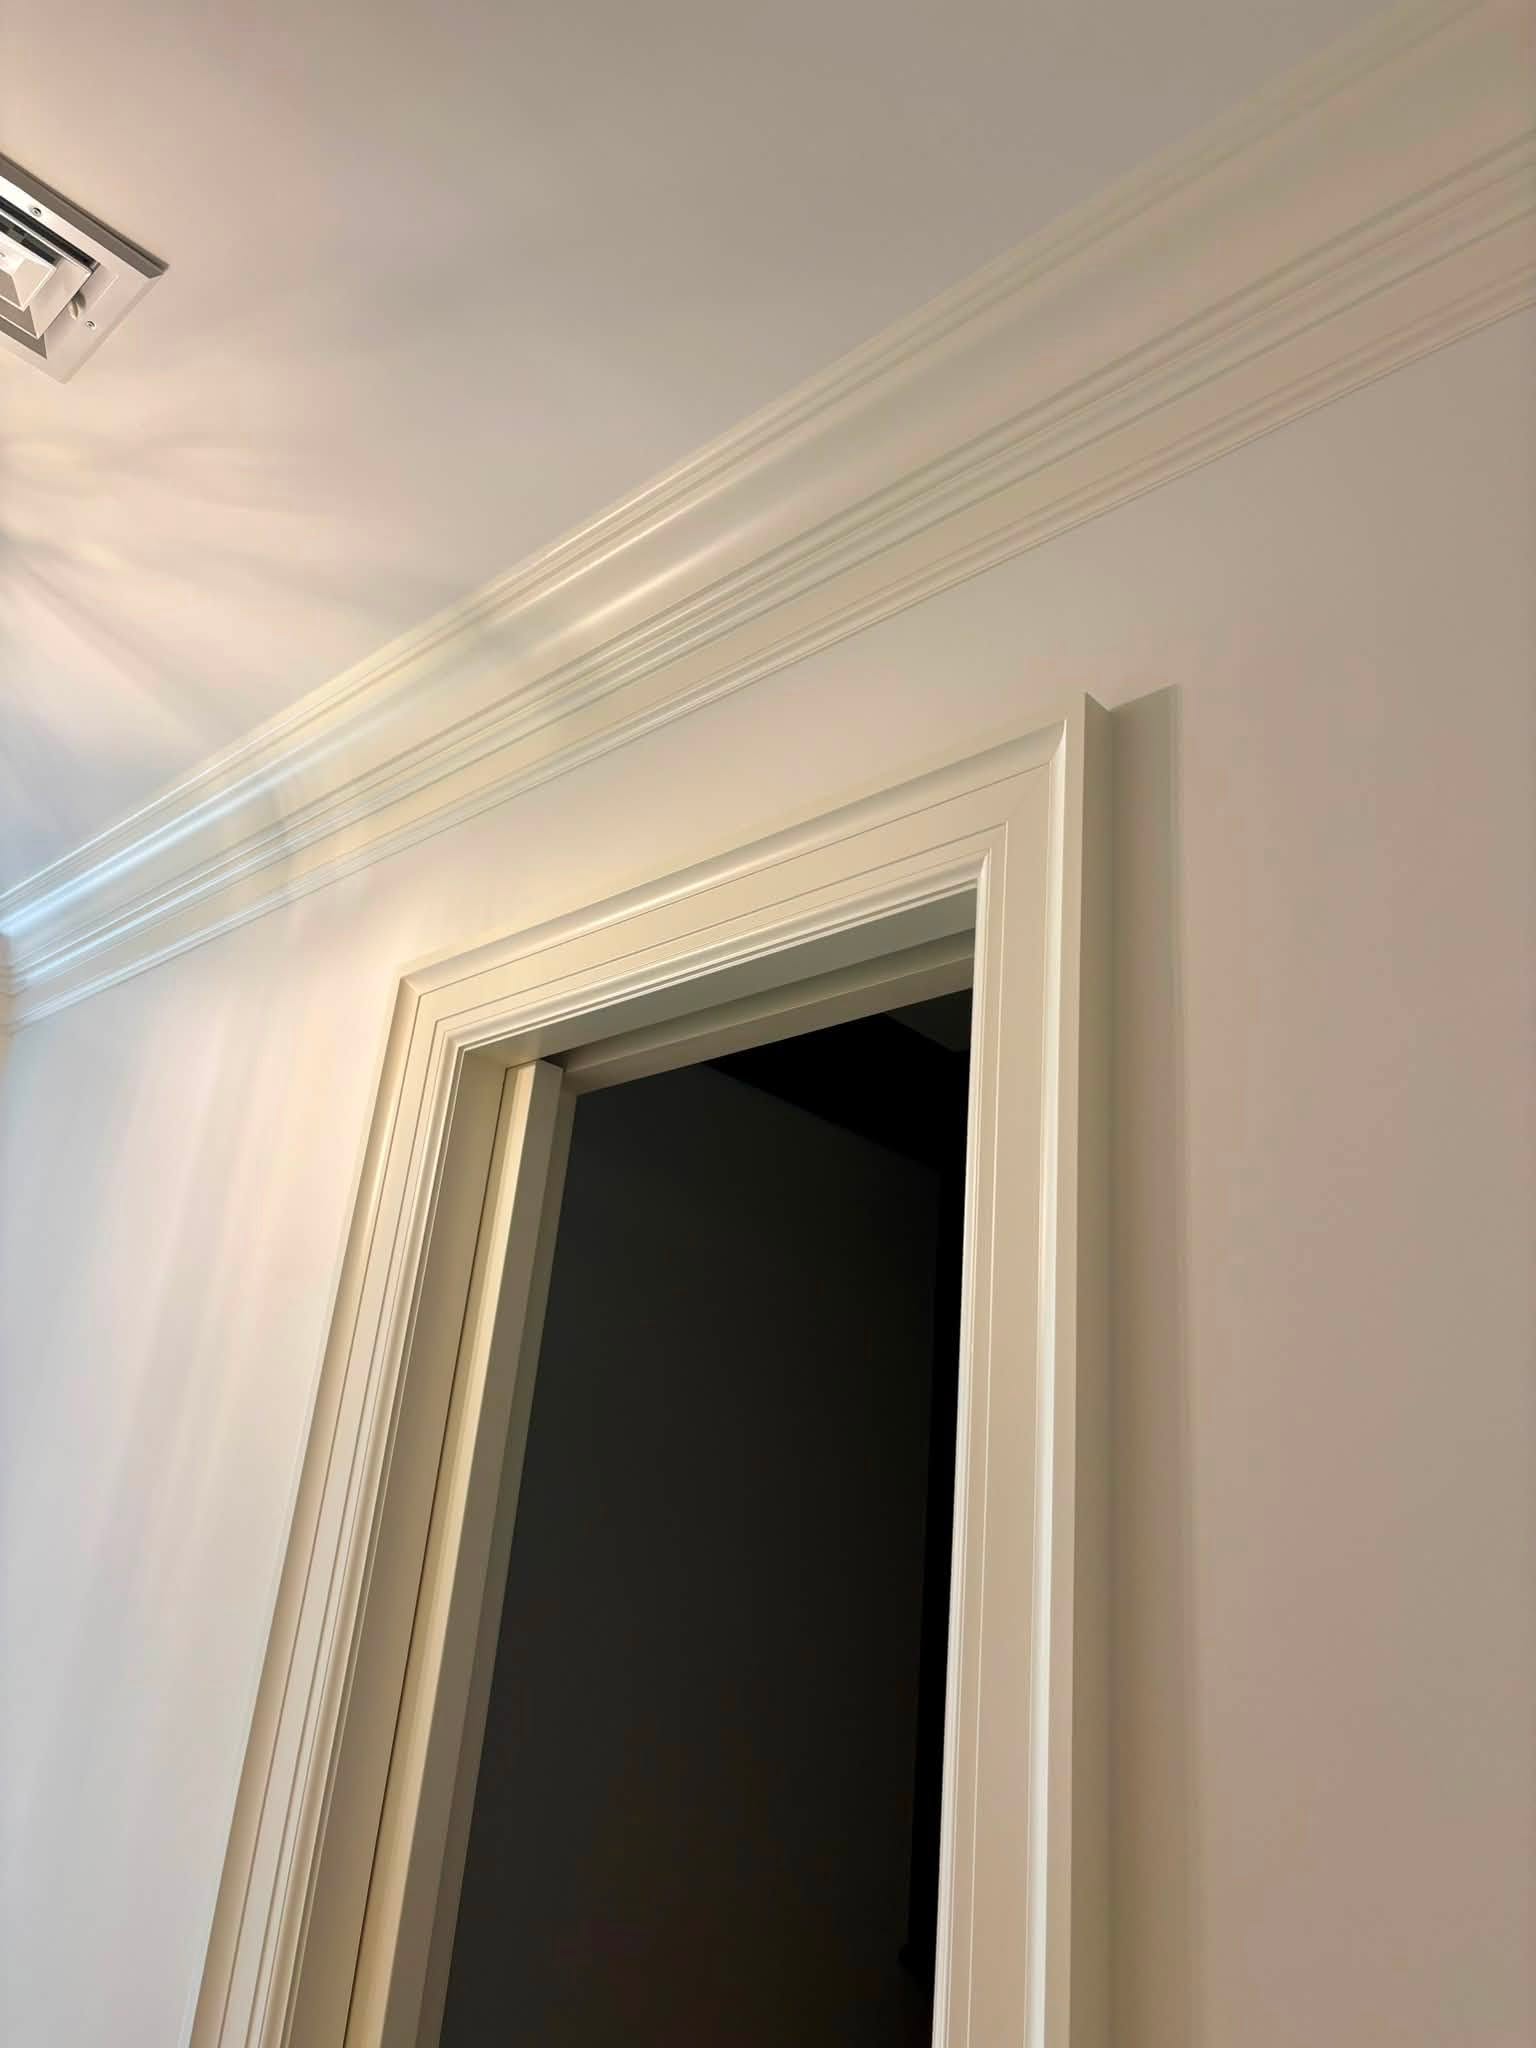

The professional way to paint a textured ceiling is to prep it, seal it with the right primer, then lay down a flat ceiling paint using an airless sprayer or a thick nap roller, in light, even coats that never disturb the texture.
Done wrong, popcorn and textured ceilings flake, drink up paint unevenly, and dry patchy. Here is exactly how my crew handles textured ceiling painting so yours comes out clean, bright, and long-lasting.
These are the surfaces I see amateurs ruin most often. So let me show you how professional painters actually approach the job.
Textured Ceiling Painting: What Makes It Different
A textured ceiling behaves nothing like a smooth wall. All those peaks and valleys mean far more surface area, so paint absorption runs higher and even coverage is harder to hold.
The bigger risk is the texture itself. On a previously unpainted ceiling, the popcorn is only loosely bound, so too much moisture or pressure loosens it, and that is where flaking and peeling texture come from.
Types of Textured Ceilings (Popcorn, Knockdown, Orange Peel)
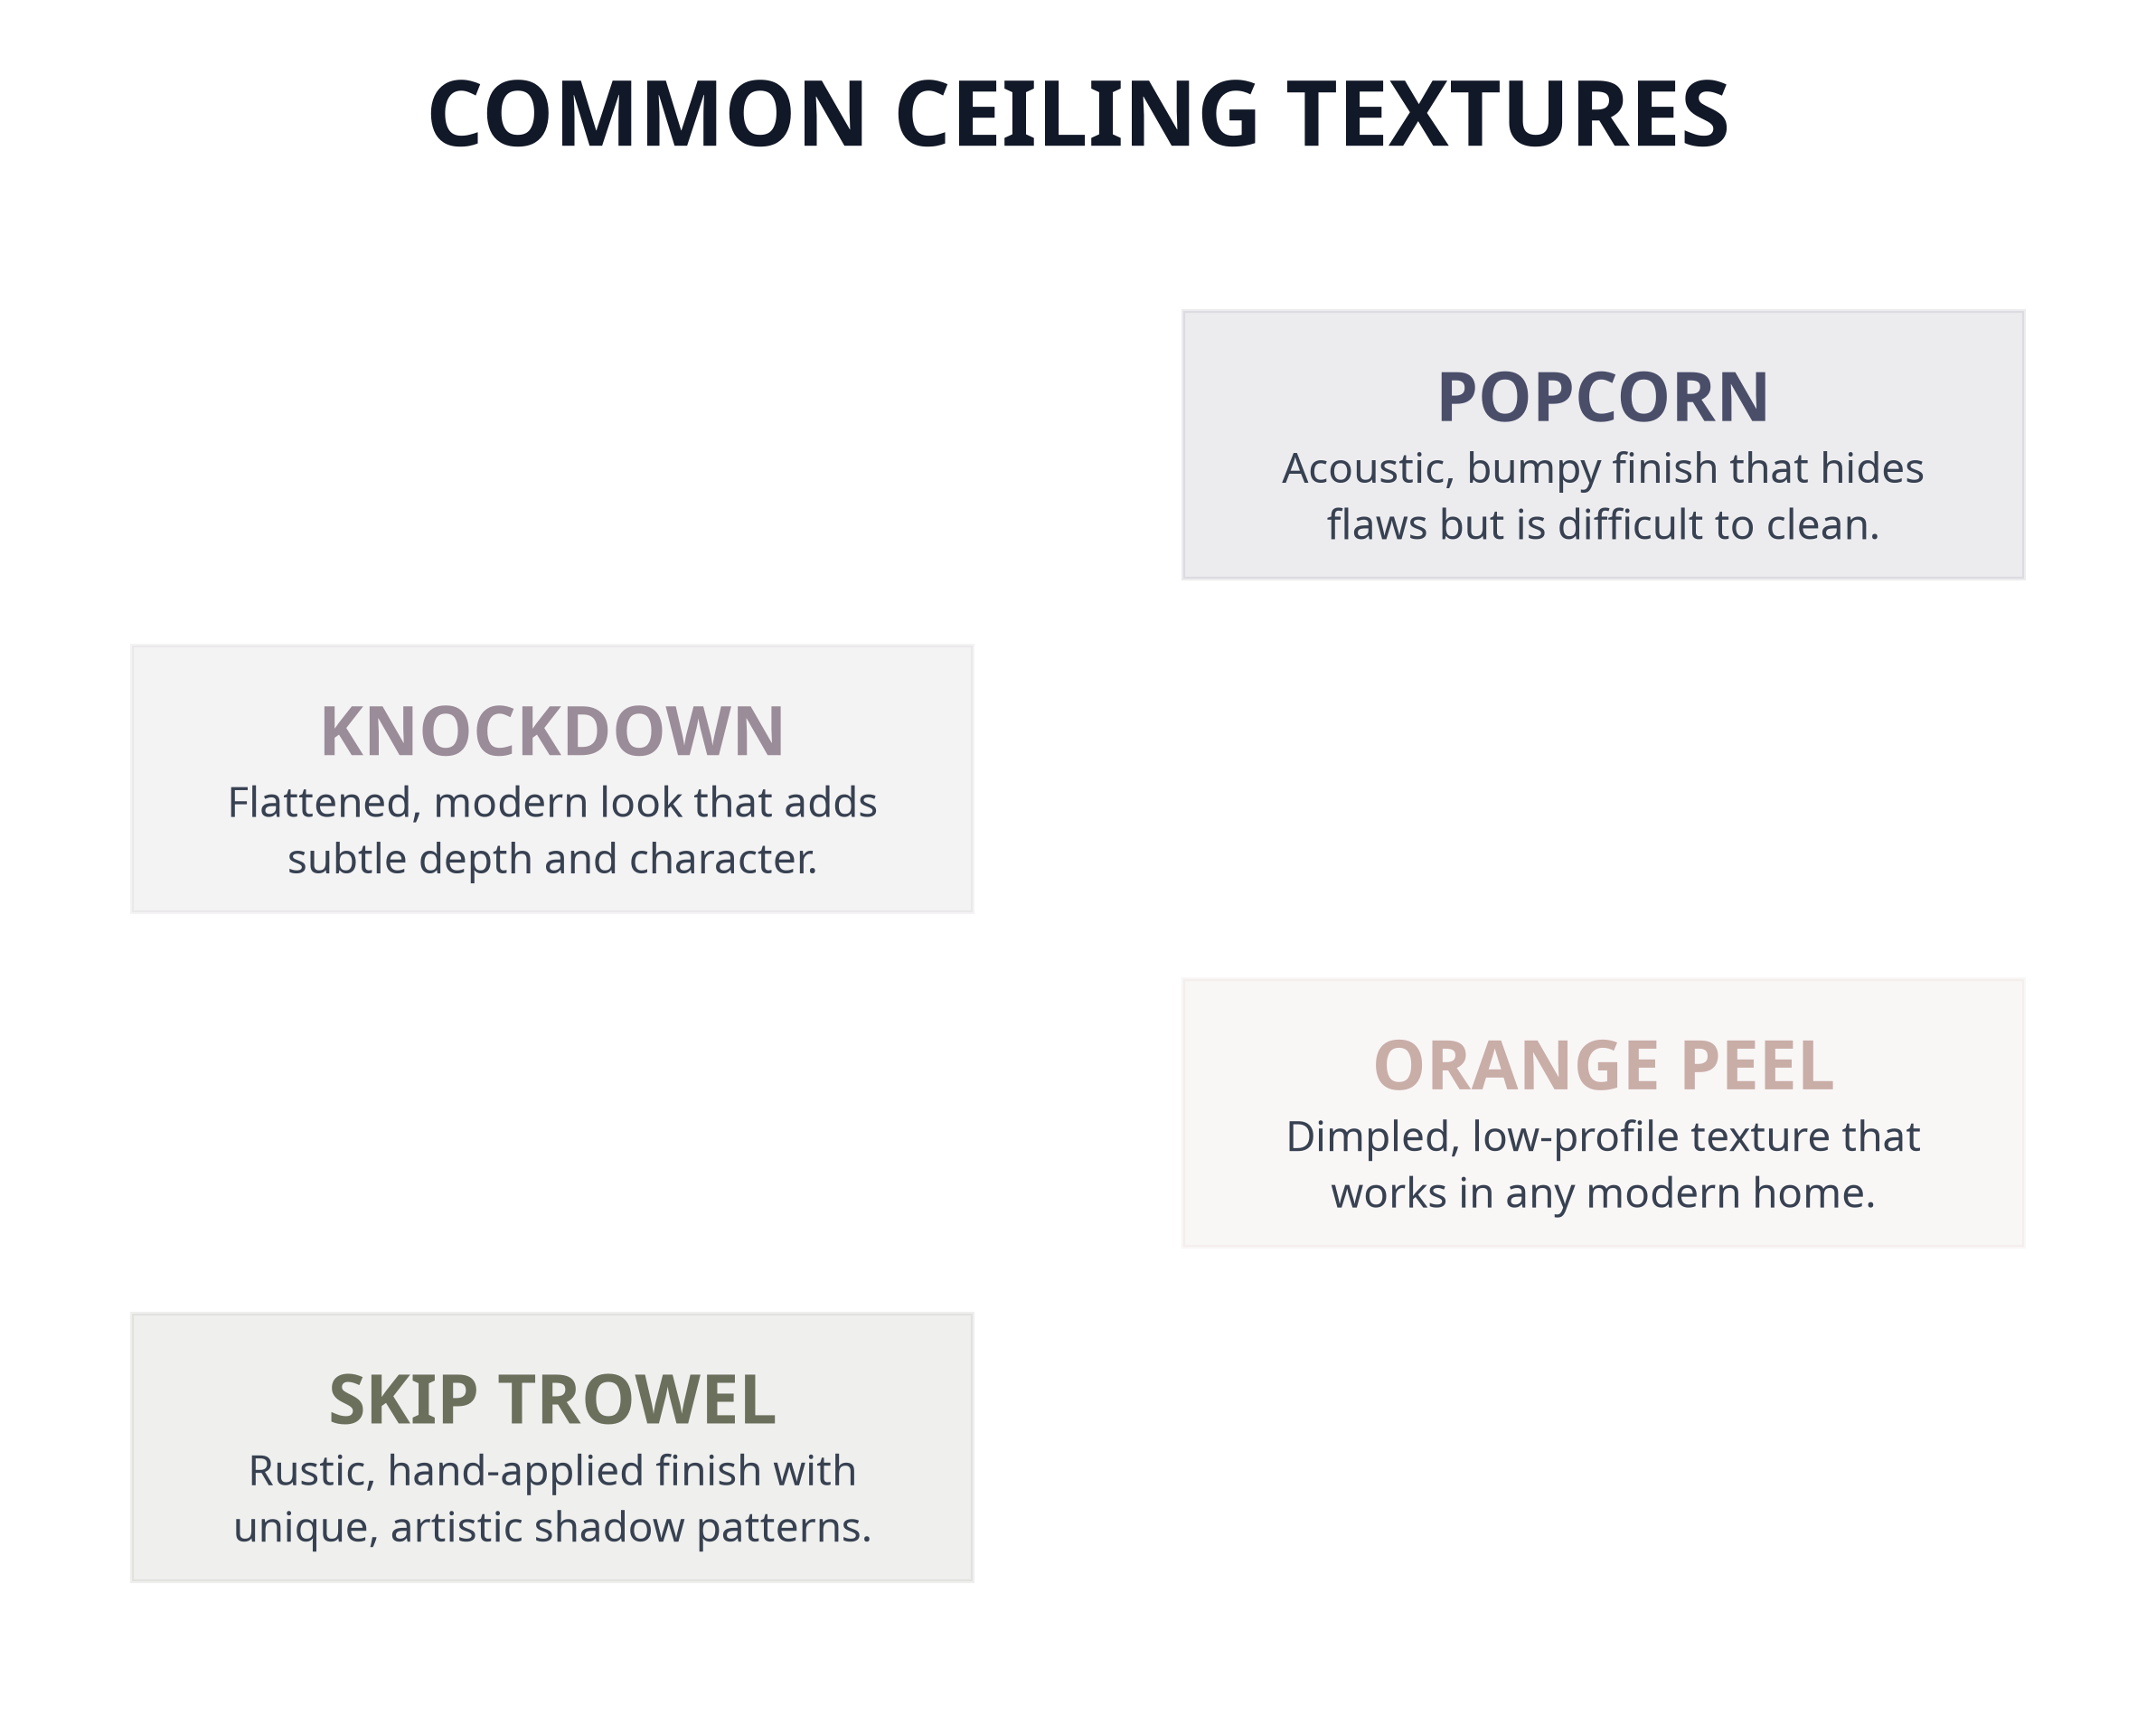
Not all texture is the same, and each type changes how we paint it:
- Popcorn: the heavy, bumpy finish from the 1960s to 80s, spray-applied and the most fragile of the three
- Knockdown: a flattened, mottled texture with softer peaks, more forgiving to coat
- Orange peel: a subtle, dimpled finish closest to a smooth ceiling and the easiest to paint evenly
The heavier the texture, the more paint it drinks and the more carefully it has to be handled.
Tools and Paint for Textured Ceilings
The right kit is half the battle. This is what professional painters reach for on a textured ceiling:
- A flat ceiling paint, since a flat finish with no sheen hides the imperfections texture magnifies
- A thick nap roller (¾ inch to 1¼ inch nap length) to reach the valleys, or an airless paint sprayer for the most even pass
- A stain-blocking primer to seal any water stains so they do not bleed through the paint
- Drop cloths and plastic to protect floors and furniture from drips and splatter
That flat sheen matters more than you would expect. Any trace of gloss on a textured ceiling throws shadows across every bump and shows every flaw.
How to Paint a Textured Ceiling Step by Step
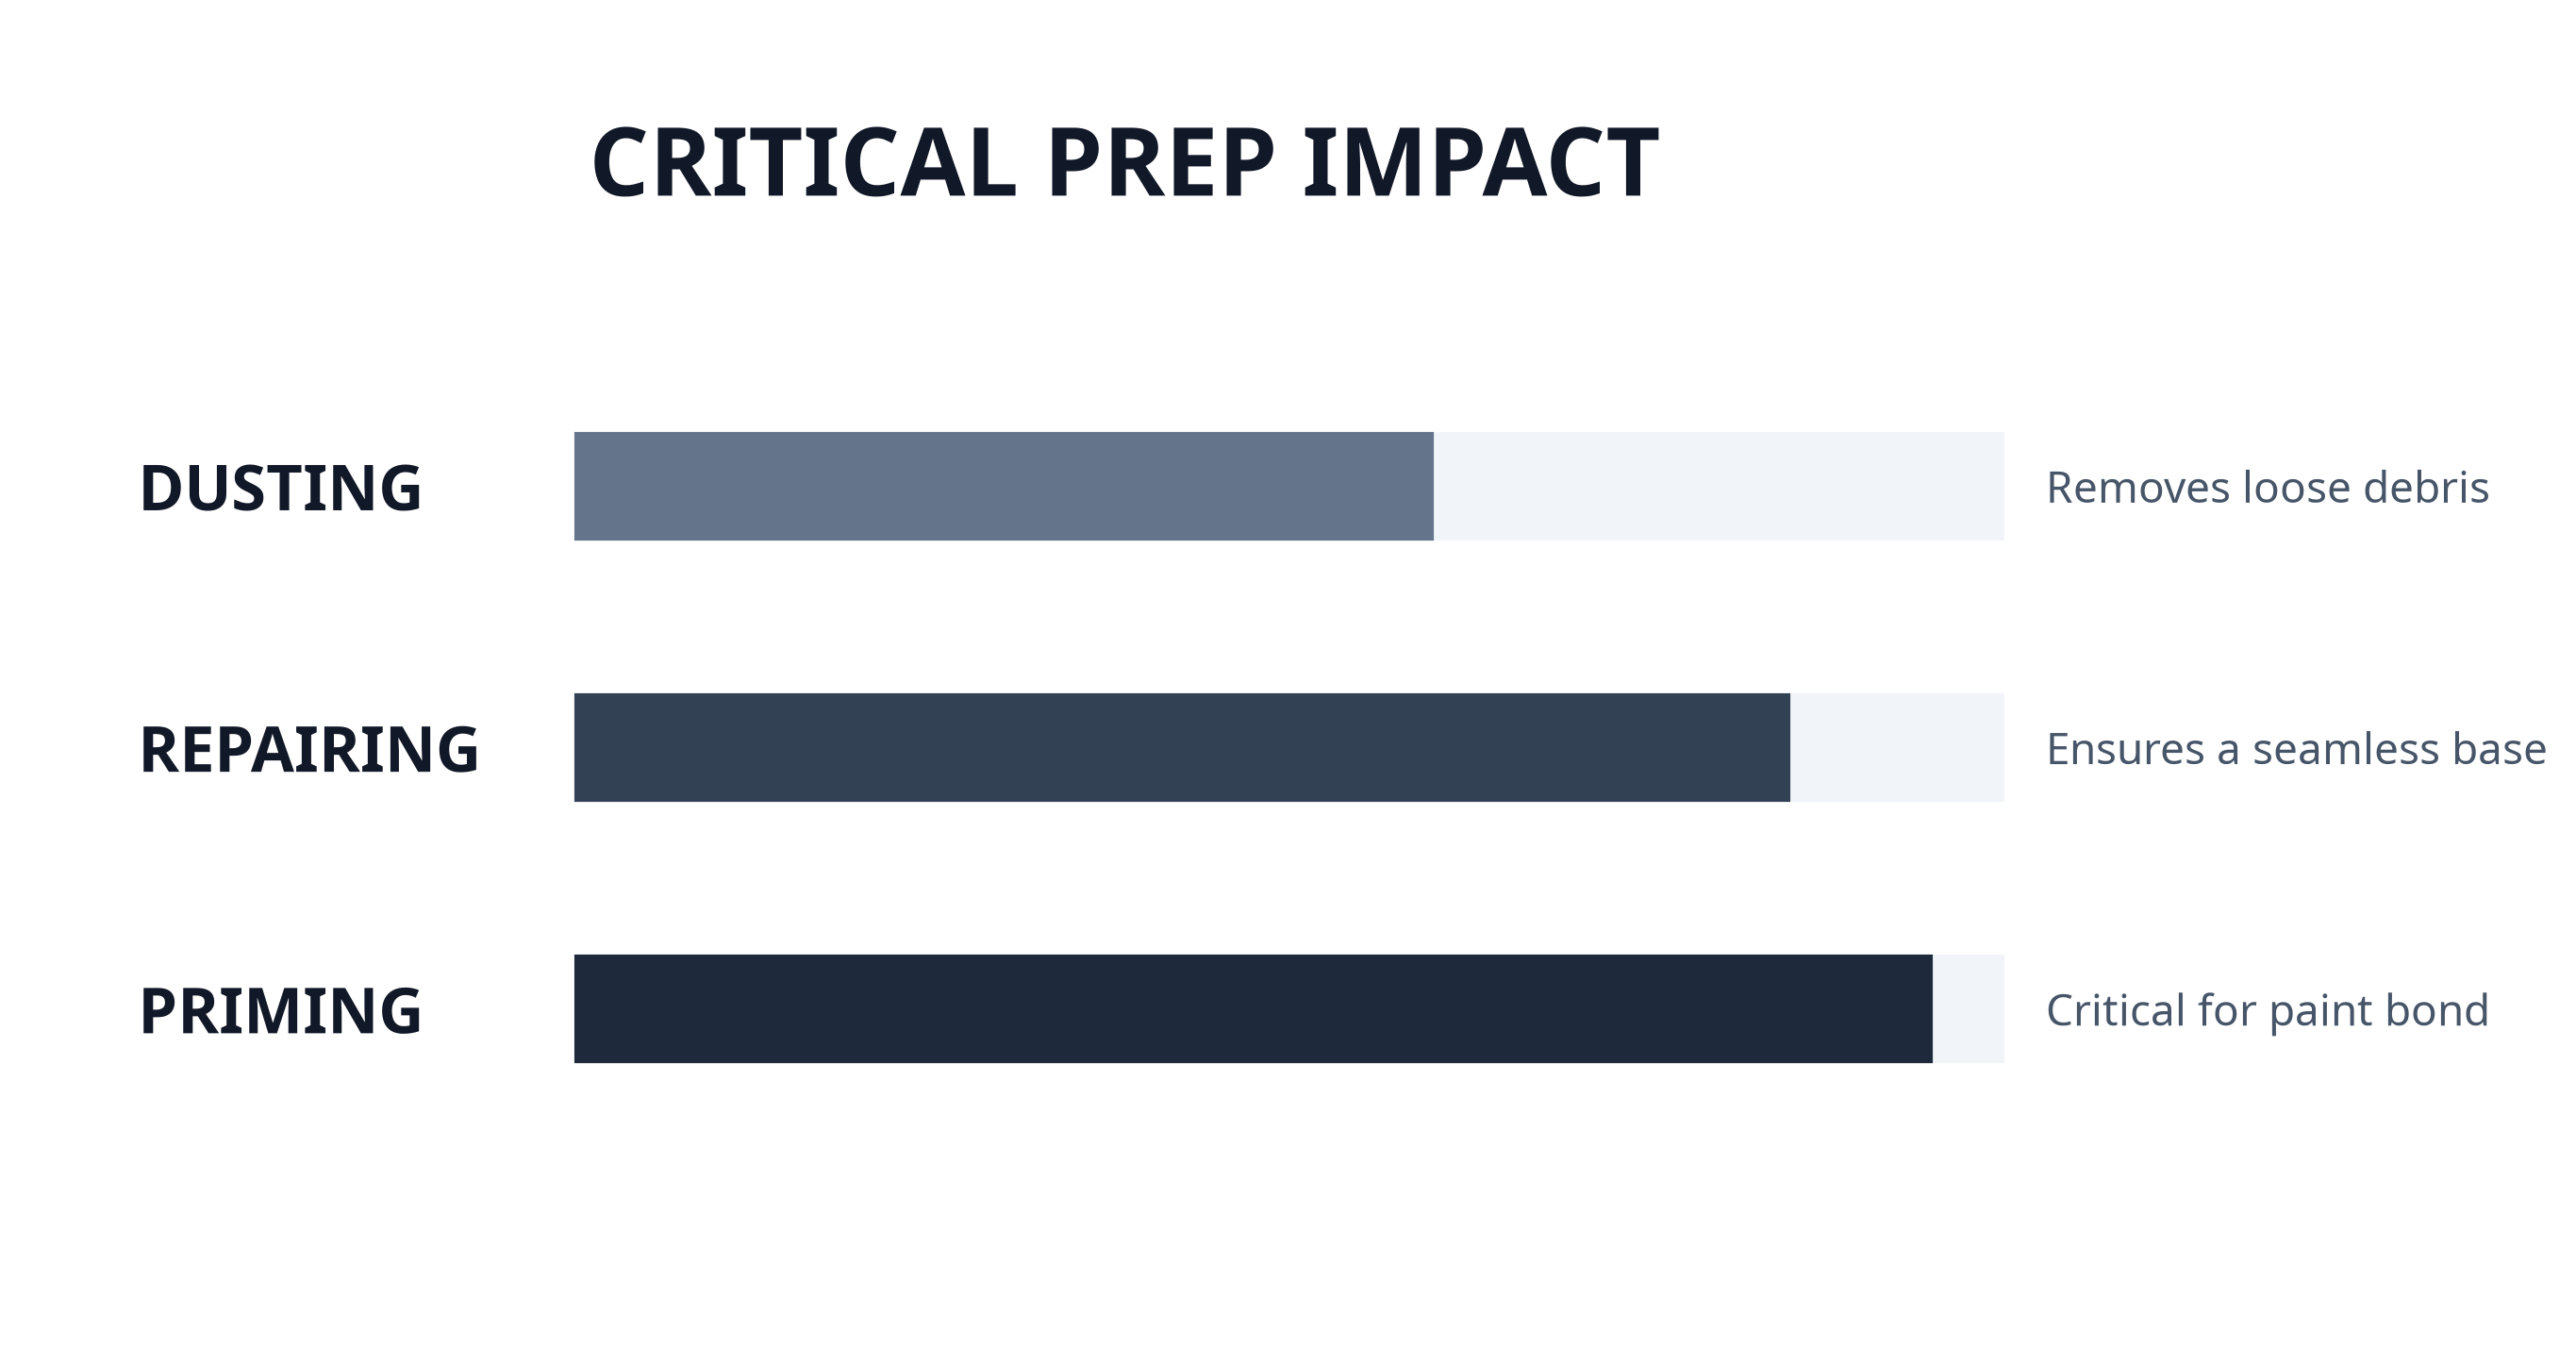
Here is the professional process my crew follows, in order:
- Surface prep: dust and cobweb removal with a soft brush on an extension pole, so paint bonds instead of gripping grime
- Protect the room: lay drop cloths over floors and furniture, since textured ceilings throw more splatter than flat ones
- Prime: coat any water stains with a stain-blocking primer, and seal loose, unpainted texture before the color goes on
- Cut in the edges: carefully cut in where the ceiling meets the walls before the main coats
- Two coats: apply two coats of flat ceiling paint for even, consistent coverage, letting the first dry fully first
Done this way, the finish comes out bright and uniform, with no patchy spots or shadows.
Spraying vs. Rolling a Textured Ceiling
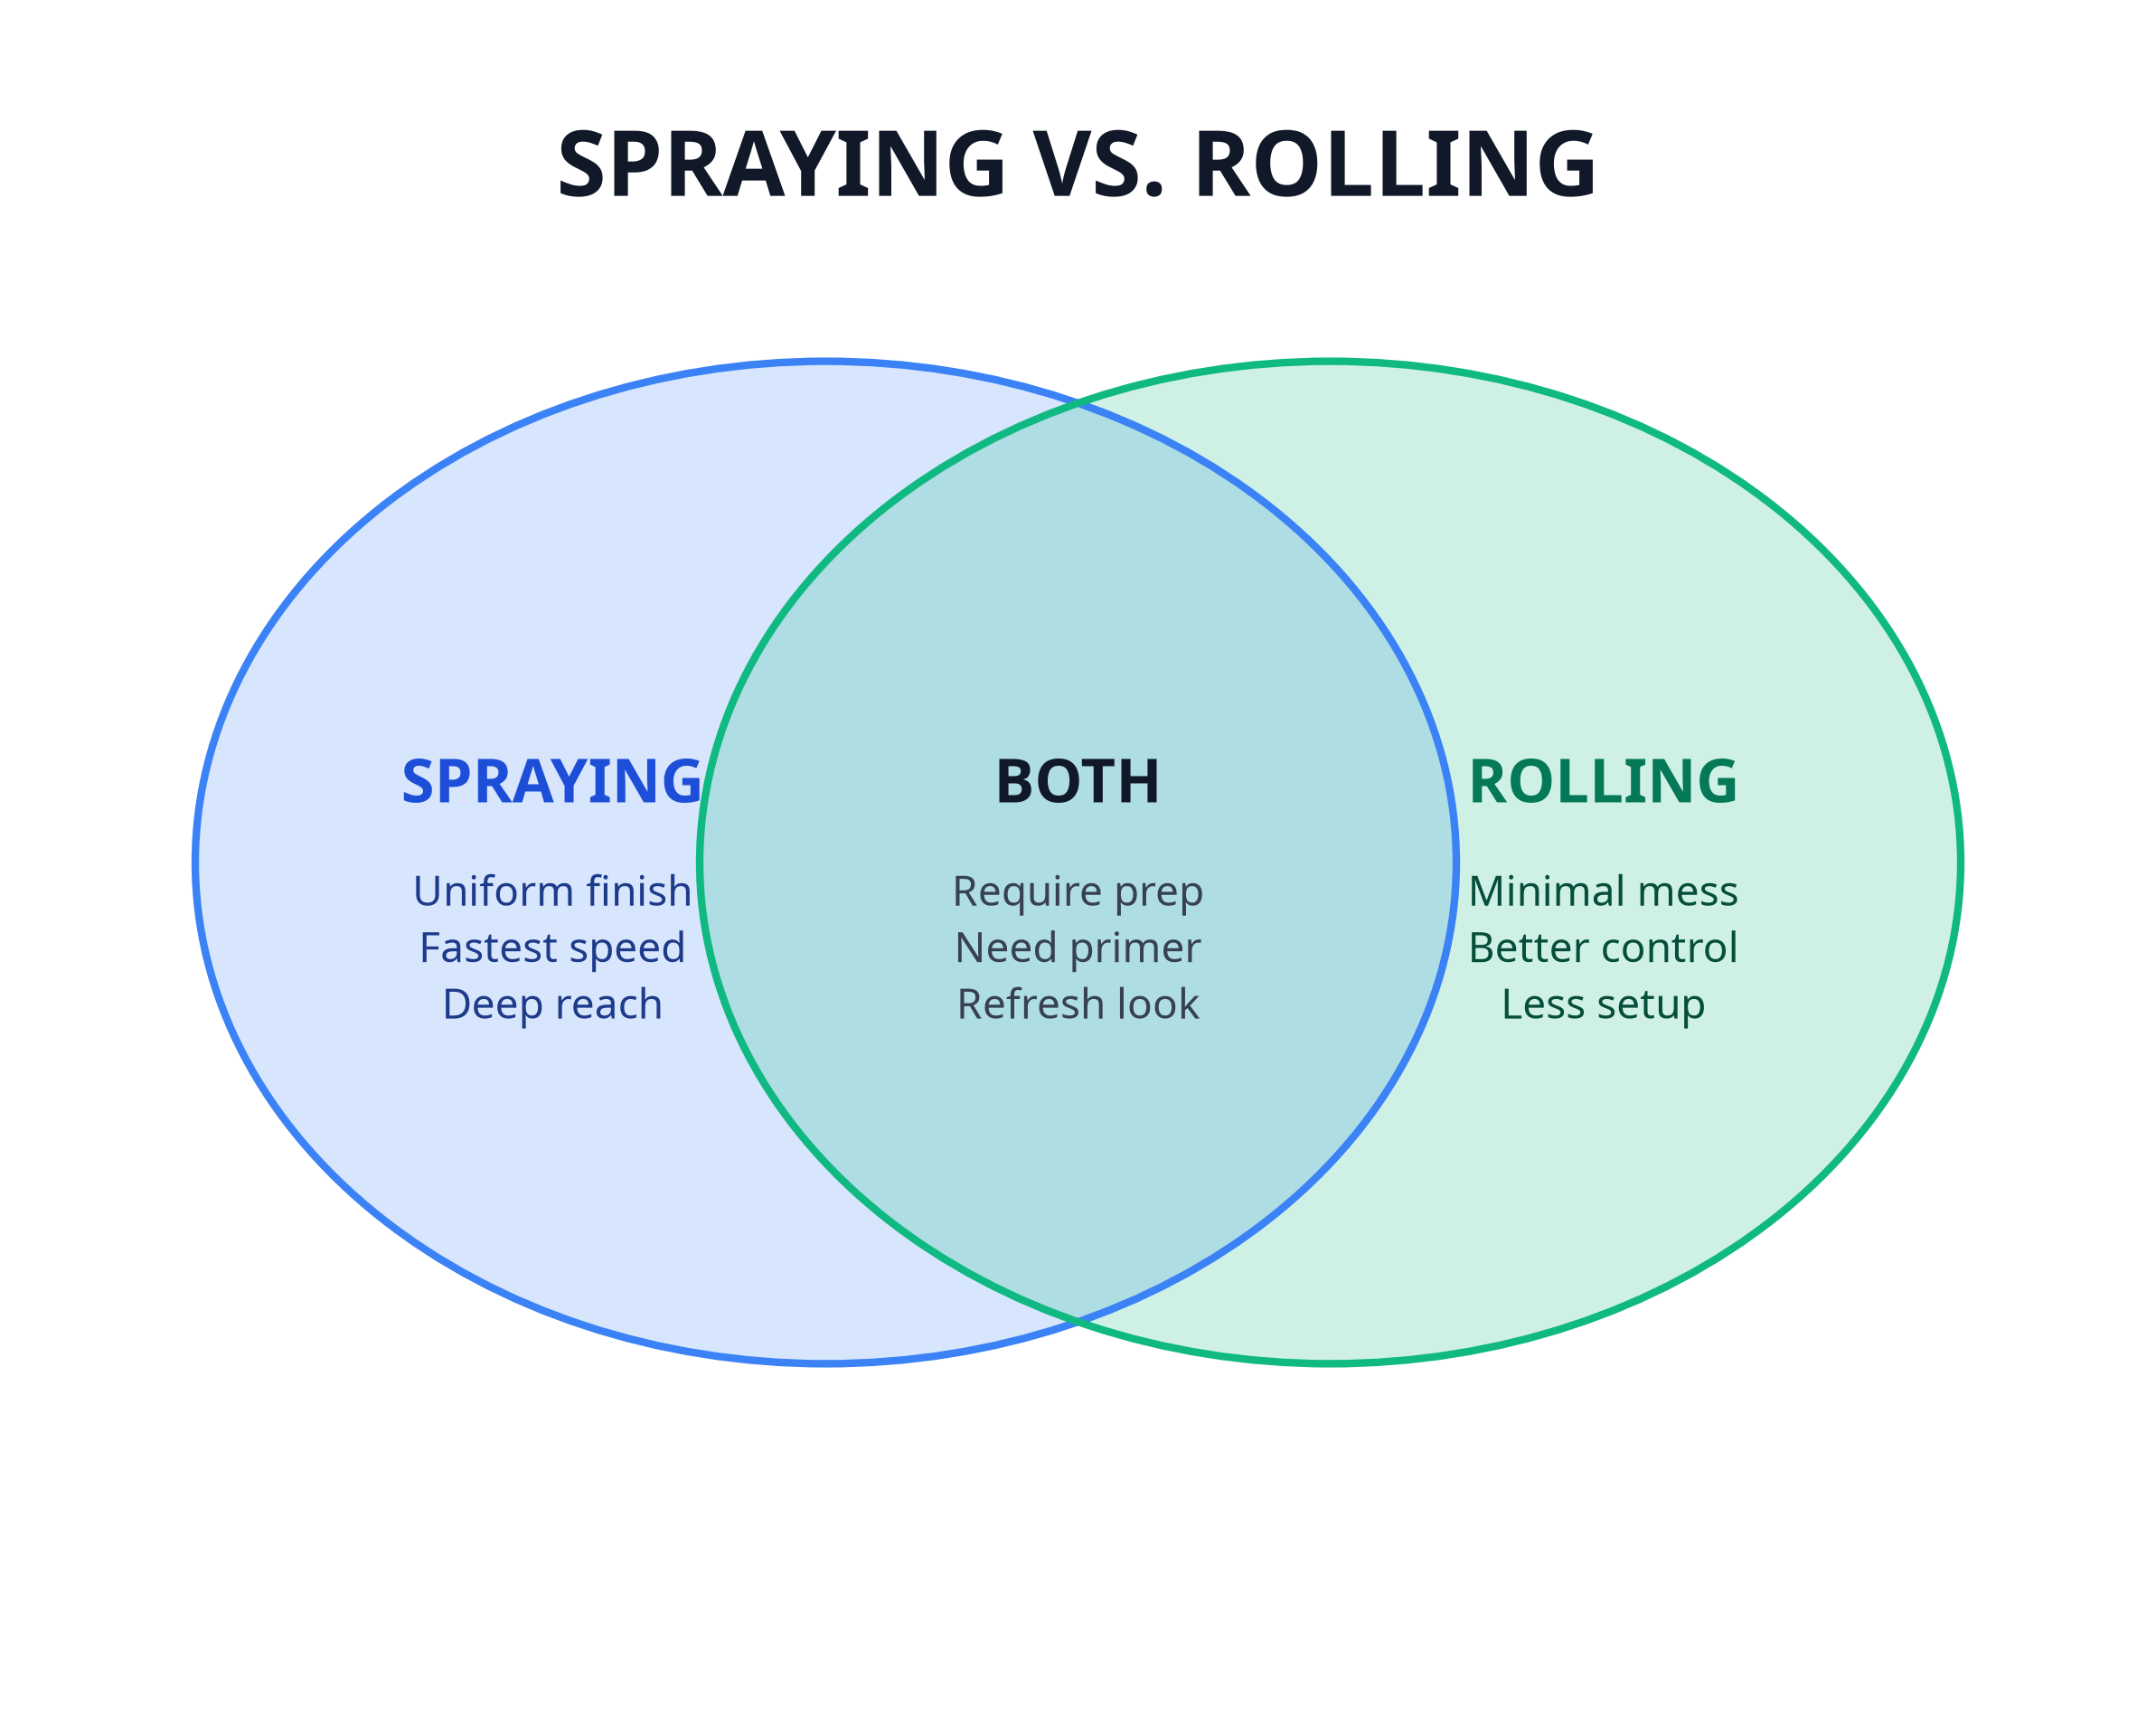
One of the biggest calls we make is spraying versus rolling, and the right choice depends on the ceiling and the room.
- Spray application: an airless paint sprayer gives the fastest, most even coverage and barely touches the surface, so it suits fragile or unpainted popcorn
- Rolling: a thick nap roller works well on already-painted texture, applied in a single light pass per coat so you do not overwork it
Here is the key point. On a previously unpainted popcorn ceiling, over-rolling drags the loose texture right off, so we either spray it, make one gentle pass, or seal it with primer first. That single decision is what separates a clean ceiling from a flaking, patchy mess.
Common Mistakes to Avoid
Most textured ceiling problems come down to the same handful of errors:
- Over-rolling unpainted popcorn until the texture flakes and peels
- Skipping stain-blocking primer, so old water stains bleed straight through
- Using anything but a flat finish, which shows every bump and shadow
- Applying too few coats and ending up with patchy, uneven coverage
- Leaving the room unprotected, then fighting drips and splatter everywhere
When to Hire a Professional Painter
Plenty of jobs are fine to take on yourself, but textured ceilings are where I most often get called to fix a DIY attempt gone wrong. They are awkward, messy, and easy to ruin, and that fragile texture is a big part of why interior paint jobs fail overhead.
There is a safety angle too. Popcorn ceilings installed before the 1980s can contain asbestos, so an older ceiling should be tested and handled properly rather than disturbed.
When you would rather skip the risk and the mess, our residential painting services cover textured ceilings start to finish, and you can book a free estimate whenever you are ready.
Frequently Asked Questions
Do you need to prime a textured ceiling before painting?
Usually, yes. A stain-blocking primer seals old water stains so they do not bleed through, and on unpainted popcorn it helps lock down the loose texture before the color coats go on.
How many coats of paint does a textured ceiling need?
Two, in most cases. Textured surfaces absorb more paint, so two coats of flat ceiling paint give you the even coverage a single coat cannot.
Should you spray or roll a textured ceiling?
Spraying gives the most even result and is best for fragile or unpainted popcorn. A thick nap roller works well on already-painted texture, as long as it is one light pass per coat.
How do you paint a popcorn ceiling without it flaking?
Do not soak or over-roll it. Spray it, make a single gentle pass, or seal it with primer first, because dragging a loaded roller over unpainted popcorn pulls the texture loose.
How much does it cost to paint a textured ceiling?
It depends on the ceiling size, the texture type, and its condition, so the honest answer comes from a proper look. That is exactly what a free estimate is for.