

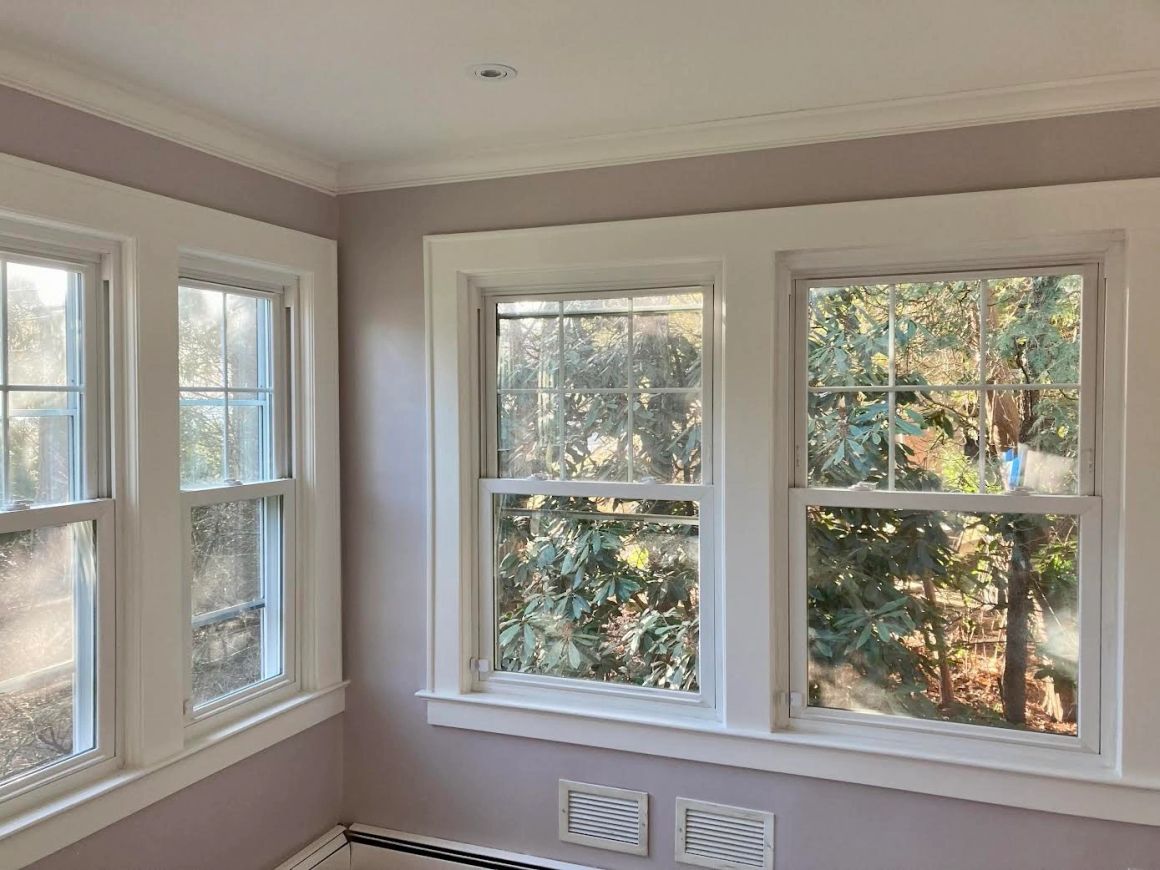
A few years back, a homeowner called me out to look at a job two other painters had already touched. Not one painter, but two. The walls were still rough, the ceilings had streaks, and the fresh paint was already lifting in spots it had no business lifting. She was about ready to give up on the whole idea of a nice interior.
By the time my crew finished, her walls and ceilings were smooth, clean, and even, and she told me it was the first time in years the rooms looked properly done.
“At Stuart Painters, we don’t rush the prep, because a durable finish starts long before the first coat.”
— Stuart Painters
If you want a closer look at how we approach it, see our interior painting services.
I’ve thought about that job a lot, because it sums up something I’ve seen again and again since I brought my trade over from Dublin. Most interior paint jobs don’t fail because of the paint. They fail because of everything that happens, or doesn’t happen, before the brush ever touches the wall.
So let me walk you through why interior paint jobs fail in Bergen County homes, and what I do differently to make sure yours lasts.
A Bad Paint Job Usually Fails Before the First Coat
Here’s the honest truth after years of this work: a paint job is only ever as good as the prep underneath it. When I see peeling, flaking, or a finish that looks tired within months, nine times out of ten it traces back to a step someone skipped early on.
Walls carry more than they look like they do. Dust, grease from cooking, hand oils near switches, and old residue all sit on the surface, and paint simply won’t grip properly over any of it. Before my crew opens a single can, we clean the surfaces down so the new paint has something honest to bond to.
Then comes the part most people never see:
- Sanding rough spots and old drips smooth so the new coat lies flat
- Filling dents, cracks, and nail holes, then sanding those areas again
- Handling minor repairs to drywall and trim before any color goes up
- Priming bare drywall and slick surfaces with a high-adhesion primer so the paint actually holds
Step-by-Step Process [How I prevent failure before the first coat]
A quick visual of the prep-first workflow that keeps the finish smooth and long-lasting.
Look for moisture, cracks, peeling, and weak spots.
Remove dust, oils, and residue so paint can bond.
Patch holes, fill dents, and fix trim or drywall damage.
Create an even base on bare or slick surfaces.
Apply the right coats for a clean, durable finish.
That primer step matters more than most folks realize. Bare drywall drinks paint unevenly, and glossy or previously coated surfaces are often too slick for a new coat to grab onto. A proper primer gives you an even base and a bond built to last. Skip it, and you’ve put your whole interior painting project on sand.
“Relative humidity indoors should ideally be kept between 30% and 50%.”
— U.S. Environmental Protection Agency
Painting over dirt, moisture, or damaged drywall is not a fix; it is a shortcut that almost always leads to a second bill.
Moisture Is the Quiet Killer of a Bergen County Paint Job
If moisture is the first reason paint jobs fail, moisture is the second, and here in Bergen County it deserves its own conversation. Our seasons swing hard. Humid, heavy summers and cold, dry winters put stress on a finish that milder climates never see, and those seasonal humidity extremes work directly against paint adhesion.
Checklist [What I check before a room gets painted]
A short pre-paint checklist for the issues that most often cause early failure.
Look for leaks, condensation, or damp walls first.
Bathrooms and kitchens need airflow before and after painting.
The wall must be dry all the way through, not just dry to the touch.
Stable indoor humidity helps paint cure the way it should.
Here’s what actually goes wrong:
- Moisture sneaking in from a small roof or plumbing leak will bubble and peel a finish from behind, no matter how good the paint is
- High humidity in the air stops latex and acrylic paints from drying the way they should, so the coat never cures properly
- Rooms that trap damp, like bathrooms and kitchens, invite mold and lifting paint when they aren’t handled right
“Mold can grow on almost any substance when moisture is present.”
A few things make a real difference here. I use high-quality, moisture-resistant paints in the rooms that need them, because a bathroom asks far more of a finish than a bedroom does. Good ventilation in those spaces helps carry damp air out before it can settle into the walls. And as a simple rule for your own home, keeping indoor humidity somewhere between 40 and 50 percent keeps both your paint and your house in good shape.
If there’s active moisture damage or a leak behind a wall, painting over it is a waste of your money. I’ll tell you that to your face at the free estimate rather than take the job and watch it fail.
The Telltale Signs of a Bad Interior Paint Job
Sometimes you can spot a poor interior paint job just by standing in the room and looking. If you’ve been let down before, or you’re checking over someone else’s work, here’s what gives it away:
- Uneven color coverage, where the wall looks patchy or the old color ghosts through
- Visible brush and roller marks, a sure sign of rushed or careless application technique
- Drips and runs, which happen when too much paint gets loaded on at once
- Messy edges and overspray around trim, ceilings, and baseboards, which points to poor masking and protection
- Peeling or flaking within a few months, which almost always means the surface prep wasn’t done
None of these are the paint’s fault. Every one of them comes down to the painters, and the care, or lack of it, that went into the work.
Comparison: Dos and Don’ts [What good prep looks like vs what causes failure]
A quick side-by-side guide for homeowners who want the finish to last.
DO The smart approach
- Clean walls before coating
- Patch and sand repairs
- Use primer where needed
- Ventilate damp rooms
DON’T The risky shortcuts
- Paint over dust or grease
- Skip drying time
- Ignore leaks or stains
- Trust one coat to hide everything
What I Do Differently in Bergen County Homes
So here’s how my crew and I approach an interior painting project, and why our customers keep recommending us.
“At Stuart Painters, we believe the prep is what makes the finish worth keeping.”
— Stuart Painters
Before-and-After [What changes when the job is done right]
A small visual of the difference between a rushed finish and a proper one.
BEFORE What I see too often
- Rough patches and old drips
- Streaks, lap marks, and thin coverage
- Edges that bleed into trim or ceilings
- Paint that starts lifting too soon
AFTER What proper work looks like
- Smooth, even walls and ceilings
- Clean lines around every edge
- Coatings that cure properly
- A finish that still looks sharp years later
We start slow and finish clean. I still walk every job personally, because after learning this trade the old-fashioned way back in Ireland, I honestly can’t help it. We protect your floors and furniture, mask everything properly, and prep every surface before a drop of color goes on. We apply the right number of coats for an even, smooth finish, not the bare minimum to get out the door. And we clean up after ourselves at the end of every single day.
That’s the whole difference between a fresh coat that looks good for a week and one that still looks sharp years down the road. It’s also why that homeowner two other painters had let down became one of our happiest customers. Doing it right the first time is not the expensive option. Redoing a bad paint job is.
If you want to see more finished work, take a look at our finished results.
Give Stuart Painters a call, and let’s get your Bergen County home looking the way it should.
