

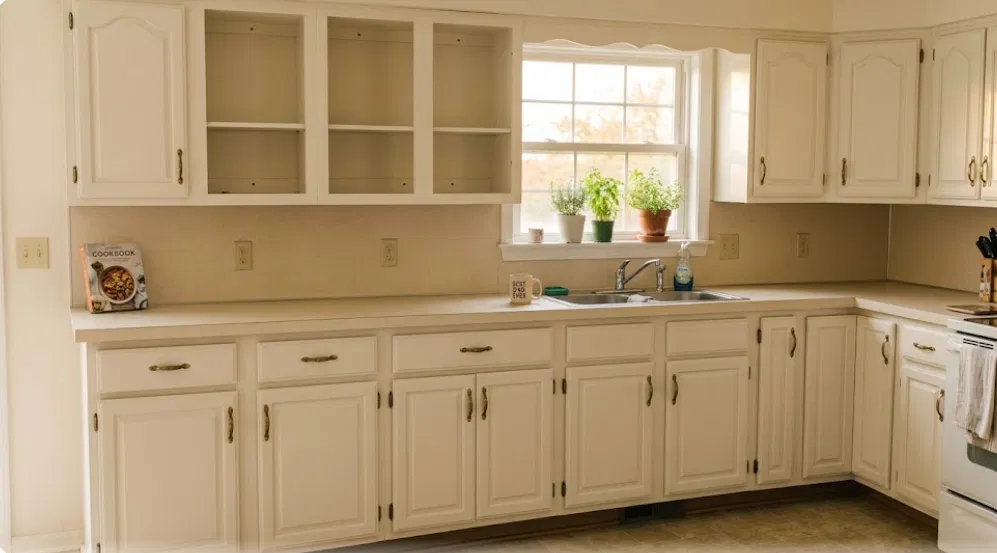

To prepare cabinets for painting: empty the cabinets, remove and label the doors, bag the hardware, degrease every surface, scuff-sand until the sheen is gone, vacuum and tack-cloth the dust, then prime with a bonding primer.
Prep is about 80 percent of a cabinet job, and it’s the only part that decides whether the finish is still perfect in five years or peeling off the drawer fronts by next Christmas. Almost every failed cabinet job I get called to fix failed in prep, not in painting.
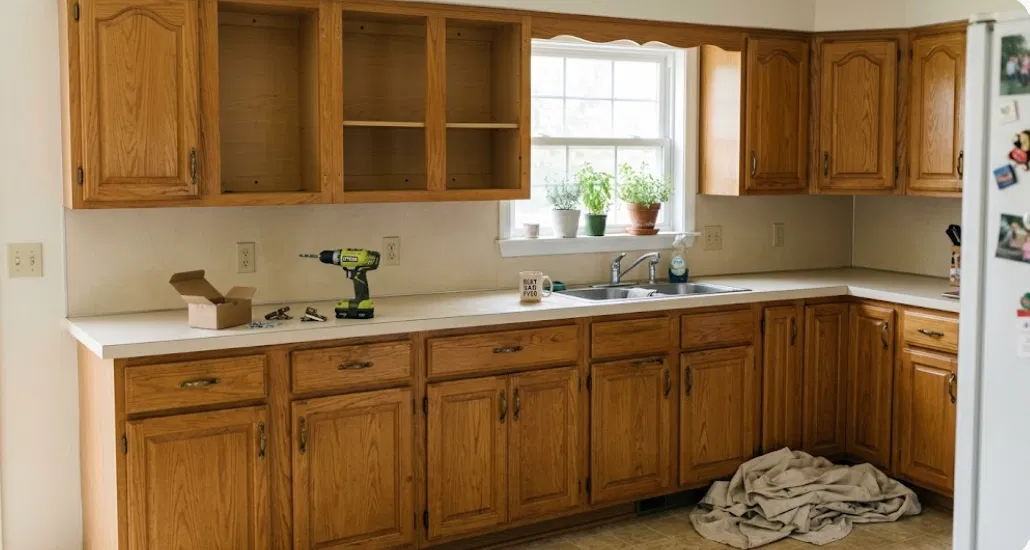
How to prepare cabinets for painting
- Empty everything and clear the counters. You need the whole run accessible.
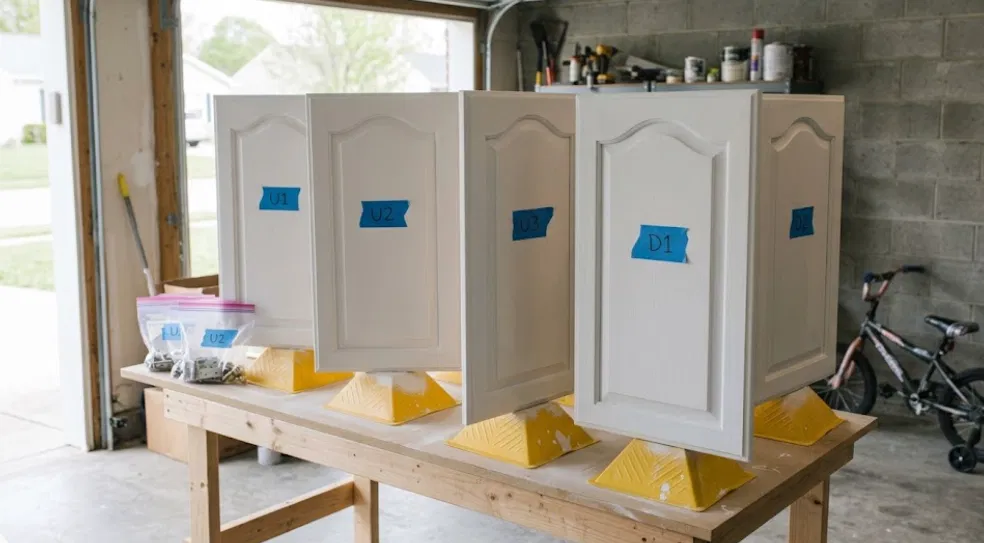
- Remove doors and drawer fronts, and label each one as you go.
- Bag and label the hardware for every door separately.
- Degrease every surface, twice on anything near the stove.
- Sand or degloss the whole surface until the sheen is gone.
- Vacuum and tack-cloth away every particle of dust.
- Prime with a bonding primer and let it cure properly before topcoating.
That’s the list.
Below is what each one actually involves, because the difference between a DIY job and a pro job lives in the details.
How to prep kitchen cabinets for paint, step by step
Step 1: Label everything before a single door comes off
Cabinet doors are not interchangeable. They’ve settled into their openings over years, and the hinge holes rarely line up anywhere else.
We tape a number on the inside face of each door as it comes off, uppers as U1, U2, U3 and so on, lowers as D1, D2. The hinges, screws, and handles for that door go into their own bag with the same number on it.
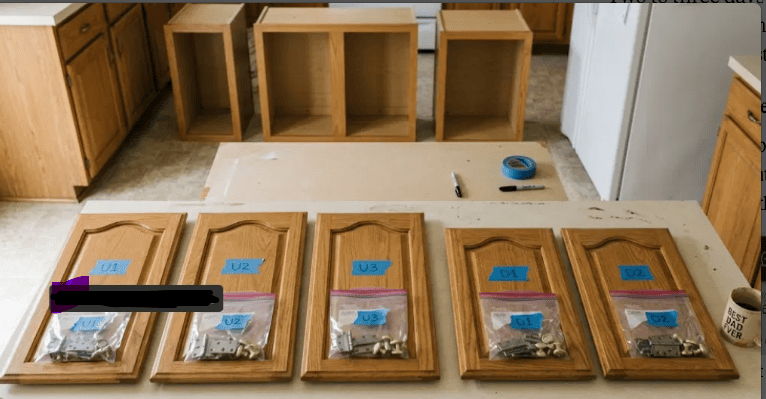
Skip this and reinstall day turns into a puzzle with sixty pieces and no picture on the box.
Step 2: Degrease, and then degrease again
Kitchen grease is airborne. It lands on every surface in the room, and it builds up heaviest above the range, around the handles, and on the tops of upper doors where nobody ever wipes. It’s invisible. It’s also completely fatal to adhesion, because primer cannot bond to wood it never touches.
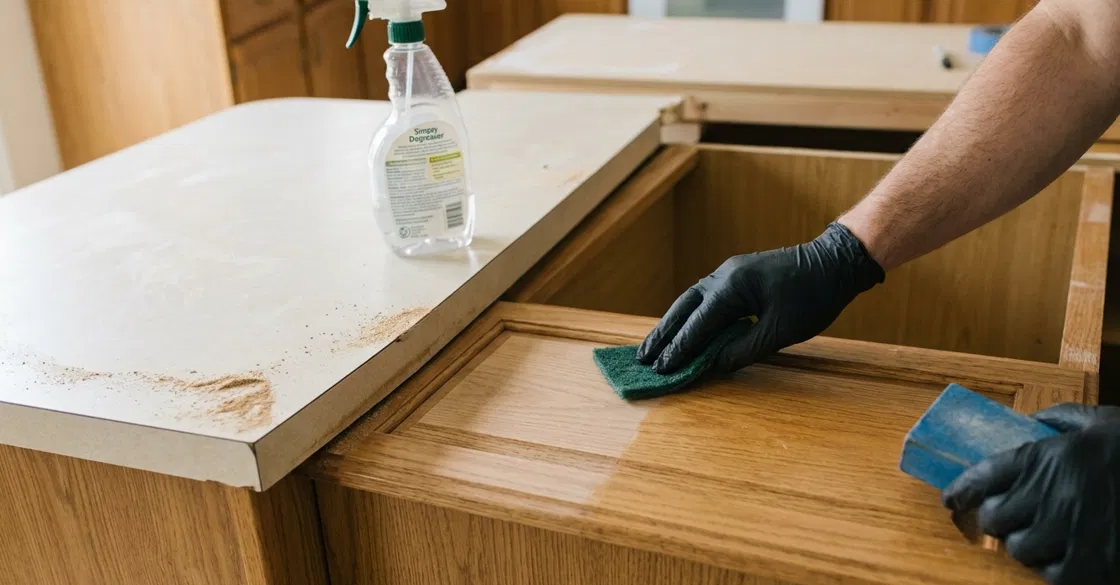
We use a dedicated degreaser rather than dish soap, work in sections, and rinse with clean water afterward so no residue stays behind.
On a kitchen that’s been cooked in hard for twenty years, everything near the stove gets done twice. Then we run a hand over it; if it feels even slightly slick, it isn’t clean yet.
Step 3: Sand every surface, including the profiles
More on the sanding question below, but the short version: we scuff-sand everything with 150 to 180 grit until the factory sheen is dead flat.
The flat panels are easy. The routed profiles and the inside corners of raised panels are where people quit, and those are exactly the spots that peel first because a thumbnail catches them every day.
Fold the paper or use a sanding sponge and get into them.
Step 4: Vacuum, then tack cloth
Sanding dust is the reason a finish feels gritty. We vacuum the doors and the boxes, wipe with a slightly damp cloth, let it dry, then go over everything with a tack cloth immediately before primer. Every particle you leave behind gets sealed under the finish permanently.
Step 5: Prime with a real bonding primer
This is not the place to use whatever primer is in the garage. On slick factory-finished or previously painted cabinets we use a bonding primer such as Insl-x Stix, an acrylic-urethane made specifically to grip glossy surfaces.
On raw or stained wood that’s bleeding tannins, a shellac-based primer stops the bleed-through that otherwise ghosts up through a white finish months later.
Cure time is not dry time. Primer can feel dry in an hour and still be soft underneath. In a New Jersey winter, with the house closed up and the heat running, we give it longer than the can says. In an August kitchen with the humidity up, longer still. Rushing this is how you get a finish that dents under a fingernail three weeks later.
The step most DIYers skip
Degreasing. Every time.
The reason it gets skipped is that the cabinets look clean.
Somebody wipes them down with an all-purpose spray, sees no dirt on the cloth, and moves straight to sanding. What they’ve actually done is sand a layer of grease into the surface and then prime over it.
That job will look flawless for about two months. Then the doors around the stove start chipping at the edges, and a fingernail will lift the paint off in a sheet. There’s no repair for it either. The whole surface has to be stripped and started again, which is why it’s the single most expensive shortcut in this trade.
Do you need to sand cabinets before painting?
Yes. Not to bare wood, but yes.
The purpose isn’t to remove the old finish, it’s to kill the sheen so the primer has a mechanically rough surface to grab.
Factory cabinet finishes are conversion varnish or catalyzed lacquer, which are deliberately hard and slick. Nothing bonds well to slick.
You’ll read that a bonding primer lets you skip sanding altogether. On a lightly used bathroom vanity with a dull finish, maybe you’ll get away with it. On a kitchen that’s been in service twenty years, no. The manufacturers of those primers still specify a clean, dull, dry surface. Scuff sanding takes an afternoon and it’s the cheapest insurance on the entire project.
If this sounds like more than you want to tackle
That’s a fair conclusion, and most people reach it somewhere around the third hour of sanding profiles. A kitchen’s worth of prep done properly is two to three days of work before any colour goes on, and it’s the difference between cabinets that look sprayed and cabinets that look painted.
If you’d rather hand it over, our cabinet painting service covers Ramsey, Paramus, Mahwah, Montclair, Summit, Hoboken and Jersey City. We spray, so there are no brush marks, and the prep above happens on every job whether anyone’s watching or not.
Frequently Asked Questions
Do you have to degrease cabinets before painting?
Absolutely, it’s essential. Although kitchen grease may not be visible, it can keep the primer from sticking to the wood. This is frequently the reason paint flakes off cabinets later on.
Is it possible to paint cabinets without sanding?
No, not really, particularly in a real kitchen. A bonding primer may aid a little, but it is not enough with a slick, twenty-year-old factory finish. Manufacturers say that a dull surface is best for painting, so scuff sanding is still required.
Which grit sandpaper is best for cabinets?
The first scuff should be 150 to 180 grit. It’s fair to reduce the shine without harming the wood. However, if you are sanding between the primer and topcoat, use a finer grit (220 or higher) and work gently.
Which is the best primer to use for kitchen cabinets?
You’ll want a bonding primer for surfaces that are slick or already painted. A shellac-based primer works for raw or tannin-rich wood, such as oak. Keep in mind that the purpose of the stain blocking and adhesion is not to cover the stain.
Do I have to remove cabinet doors to paint them?
Yes, you should. Painting doors while they are still up results in runs along the edges and un-painted areas on the hinge side. Not to mention that they are not evenly sprayable. To get a smooth finish, place them flat on a stand.
What is the time required for prepping cabinets?
It will take about 2 to 3 days for a typical kitchen, if done properly, versus only about a day of painting. This is a shock to many people and is why cabinet painting prices are so high.
Why is my cabinet paint peeling or chipping?
This is typically because of poor preparation, which is usually a result of either grease or not performing the scuff sanding. If the paint comes off in flakes or a fingernail can be used to peel it off, the paint did not bond properly. Unfortunately, the answer is to take it down and build it up again.